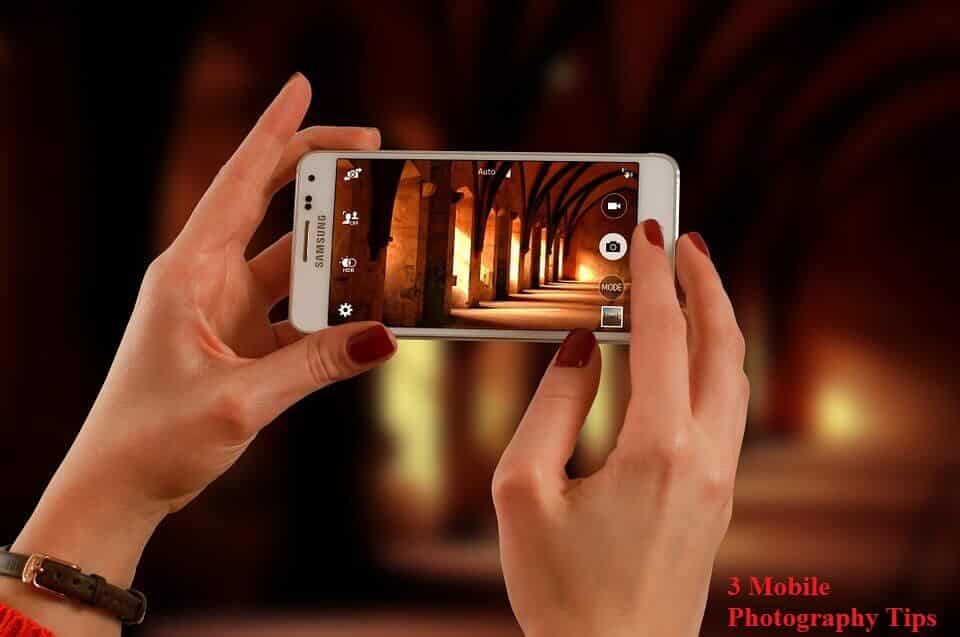
Taking incredible photos with a smartphone is straight forward, if you have guidelines on the essential elements of photography; exposure, composition and photo editing. In this article, you will learn 3 techniques that every serious mobile photographer should know. If you’re just starting out with mobile photography, you should master these 3 techniques.
1. Clean The Lens
Your smartphone spends a lot of time in your pocket, a bag or in your hand, and as a result it collects a lot of dirt, dust and grease on your lens. This influences the quality of your photos. Dirt, dust, grease and fingerprints on your lens will have a big effect on the quality of your photos. If the lens is dirty, it will block the light from entering the camera’s sensor and will leave smudges, blurs or dust spots on your images. A clean lens will ensure you get sharp, clear images with your iPhone.
You should clean the lens each time you take it out to take a photo. Use a soft lens cloth when doing this as any abrasive cleaners will scratch the glass over the lens and this will result in poorer image quality.
2. Set The Focus
It is very important to make sure that your subject is in sharp focus. To set the focus on the smartphone camera you simply tap the screen where your subject is in the frame. A small yellow square will appear to confirm the focus point. If the subject is moving around, tap the screen to ensure they are in focus before taking the shot.
3. Adjust Exposure Manually
When you focus on the subject, the camera will also use the focus point to set the exposure. Exposure refers to the brightness and darkness of the image. However, allowing the camera to set exposure on the focus point isn’t always ideal. For example, if the subject is in a dark area of the frame, this may lead to the overall image being over-exposed or too dark.
Remember is to keep taking great photos and have fun!

